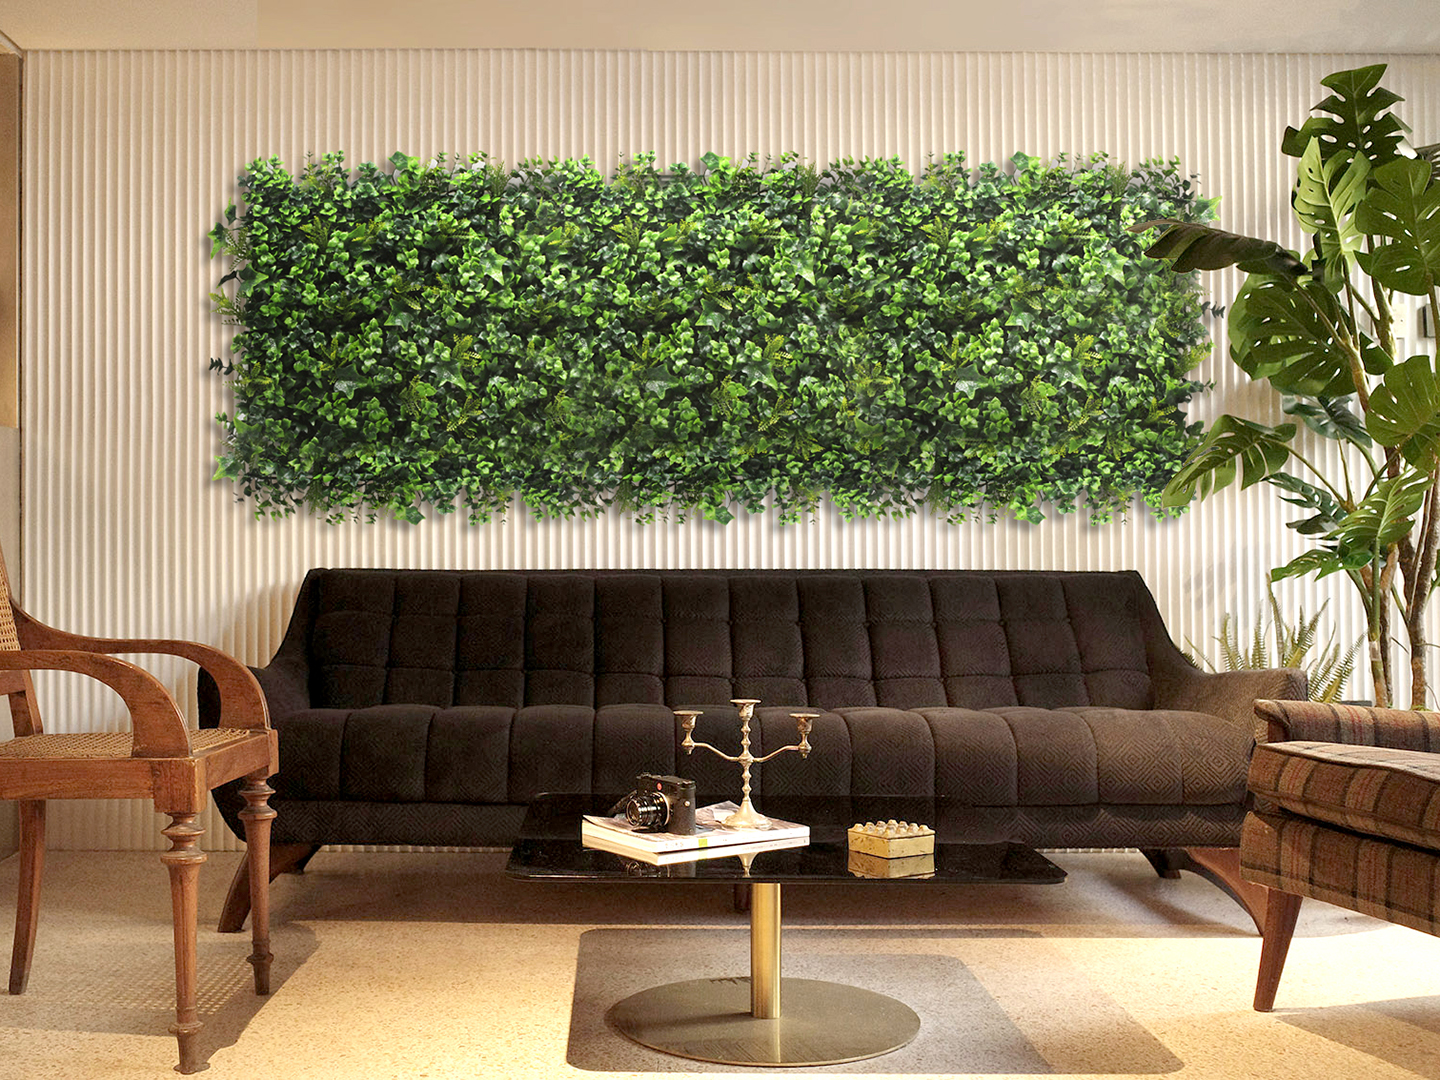
There is a familiar grace and beauty to the wall with artificial vertical garden plant that simply cannot be matched. Brighten up your private space with gorgeous plants which give you the ultimate in longevity and color.

There is a familiar grace and beauty to the wall with artificial vertical garden plant that simply cannot be matched. Brighten up your private space with gorgeous plants which give you the ultimate in longevity and color.

DIY green wall is currently a major trend, and the good news is that it’s surprisingly simple to replicate at home! By DIY green wall vertical garden or DIY green wall backdrops, you have the opportunity to showcase your decorative abilities and create a distinctive focal point for your space. If you’re seeking something more than traditional wall art to enliven a room, continue reading to learn how to DIY a indoor or outdoor green wall.
A standout feature of faux plant wall decor is its versatility – it complements virtually any space.
Whether chosen for your home, office or event venue, DIY faux living wall is the ideal decoration to add beauty to any environment.
If you’re hoping to enhance an indoor environment, search no more! Start to DIY your green wall to provide a perfect final touch to your home. It introduces elegance to a living room, kitchen, or any space where you entertain and spend time. Create an unforgettable celebration with a fake greenery wall — ideal for bridal showers, birthday parties, and beyond.
If you want to infuse your business space with vitality, the faux plant wall decor not only adds aesthetics but also brings natural greenery to the space. With a DIY faux plant wall, you can effortlessly create an indoor oasis, transforming what might have been a tense work environment into a relaxed and pleasant one for both employees and clients.
Fake plant wall decor extends beyond interior spaces! A DIY fake plant wall creates a striking welcome for guests, whether placed next to your front door or on a sheltered porch. It’s a delightful method to invite people into your home and make a memorable impact. Moreover, a faux greenery wall is also a virtually maintenance-free way to add a tropical atmosphere to your patio or deck.
Once you’ve chosen the spot for your DIY artificial greenery wall project, it’s time to start planning. Utilize a yardstick to measure the intended wall area, establishing precise dimensions for your faux green wall. This measurement will serve as a reference point as you gather supplies and embark on the creation process.
Prior to your artificial green wall installation, ensure you have the necessary tools and decorative materials readily available. We suggest the following supplies for your DIY green wall: faux greenery wall panels, pens, band tape, scissors, plastic ties, staple gun, drills, steel wire grid, etc.
Determine the quantity required before installing the hedge panels; this is a crucial step to guarantee a seamless installation process.
Our products feature a user-friendly connection system known as the easy-snap-to-lock system. During this step, you only need to execute a few straightforward operations to successfully complete the panel connection process.
How to install artificial green wall on concrete or bricks? Staple nails may prove challenging to use. Therefore, it is essential to secure the steel wire grid first. This step ensures the identification and confirmation of fixed points for the steel wire grid.
Attach the grid board to the wall using a drill. Despite its apparent complexity, this step is straightforward; just ensure safety during use. With the support of the wire mesh, the green wall panels can be more stably installed on the wall, making the fixation easier as well.
In this step, utilize plastic ties to secure the artificial wall panels to the wire mesh. The use of plastic ties is convenient and allows for easy removal when needed. Trim any excess lengths of the plastic ties with scissors to ensure a perfect fit.