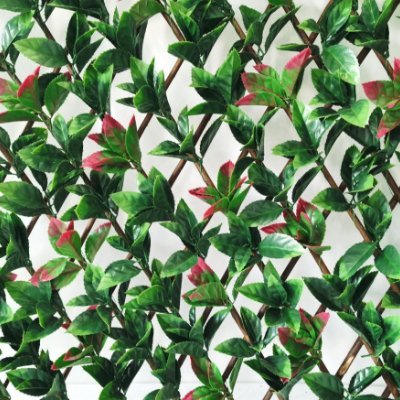
A suburban homeowner opted for artificial trellis to enhance both privacy and curb appeal. The property featured a classic white picket fence, and the owner wanted additional screening from nearby houses while maintaining a polished aesthetic.

A suburban homeowner opted for artificial trellis to enhance both privacy and curb appeal. The property featured a classic white picket fence, and the owner wanted additional screening from nearby houses while maintaining a polished aesthetic.
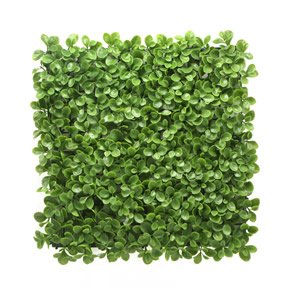
The artificial trellis to the fence integrated effortlessly into its surroundings, harmonizing beautifully with the lawn and other garden elements. Unlike natural hedges, which require regular trimming and care, artificial trellis provided lasting greenery without maintenance. Over time, the homeowner received numerous compliments on the enhanced curb appeal. Check out more showcases of how artificial trellis elevate residential exteriors.
Nex you may want to know how to attach artificial trellis to fence?
Just follow these steps for a secure installation:
A. Zip Ties (Best for Wire or Metal Fences)
B. Screws with Washers (For Wood or Vinyl Fences)
C. Mounting Brackets (For a More Permanent Fix)